docker 搭建nginx-rtmp
docker 搭建nginx-rtmp
拉取镜像
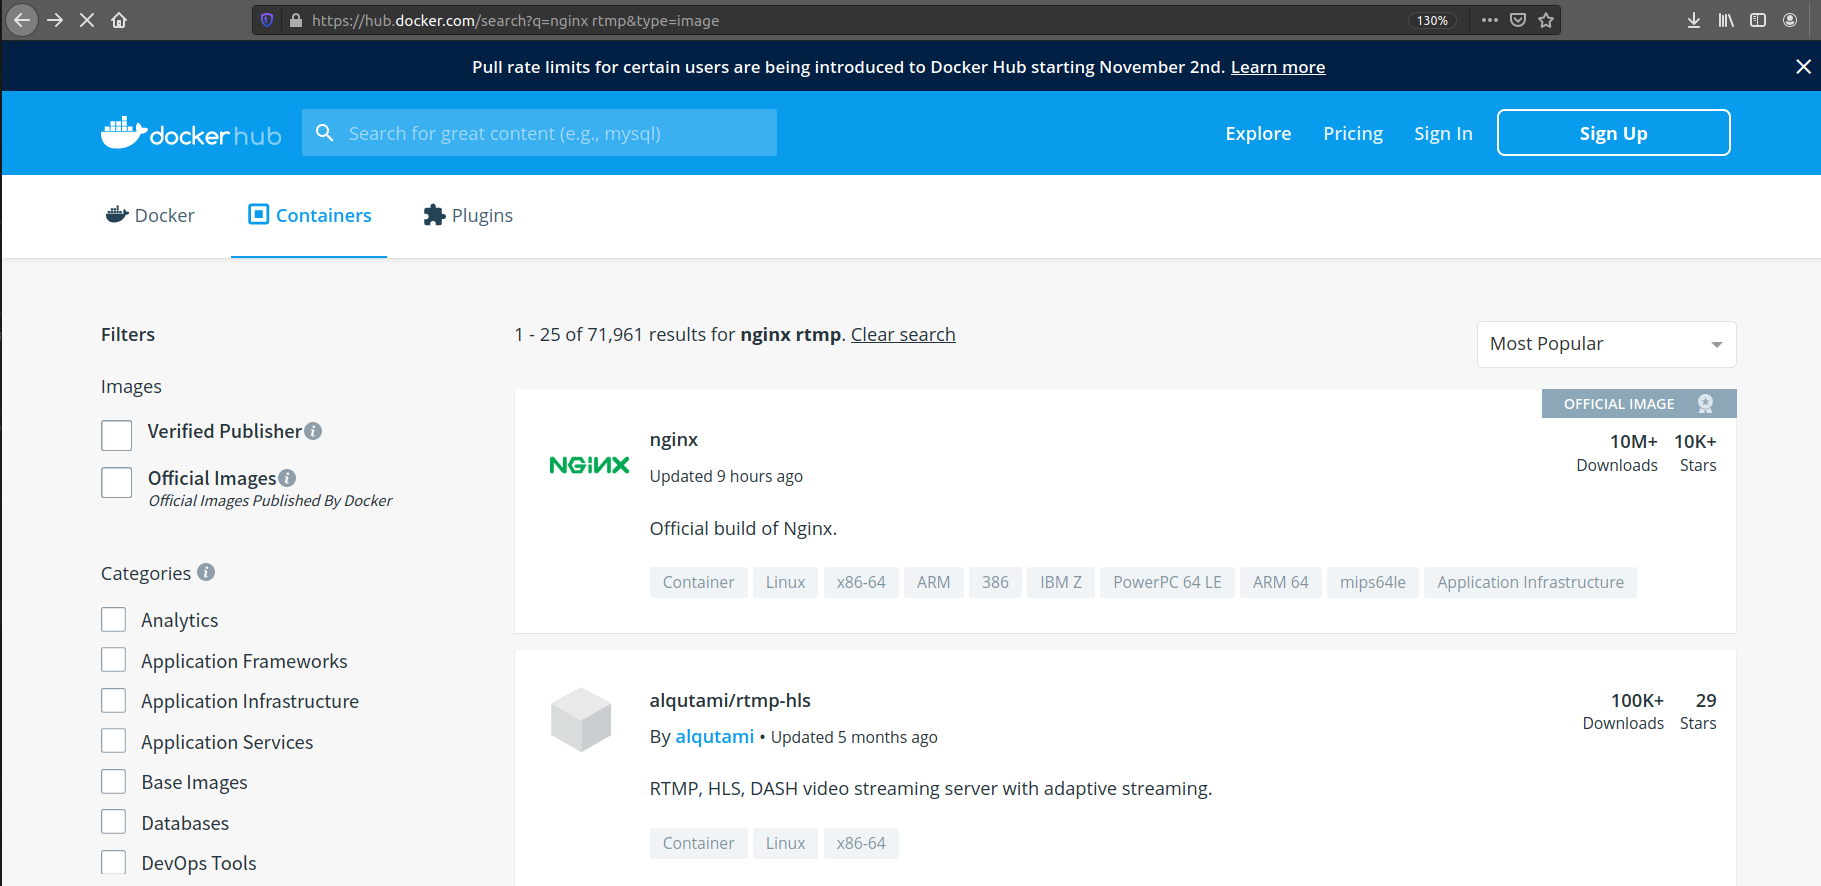
首先,在docker的镜像页面 https://hub.docker.com/search?type=image 搜索关键词 “nginx rtmp”
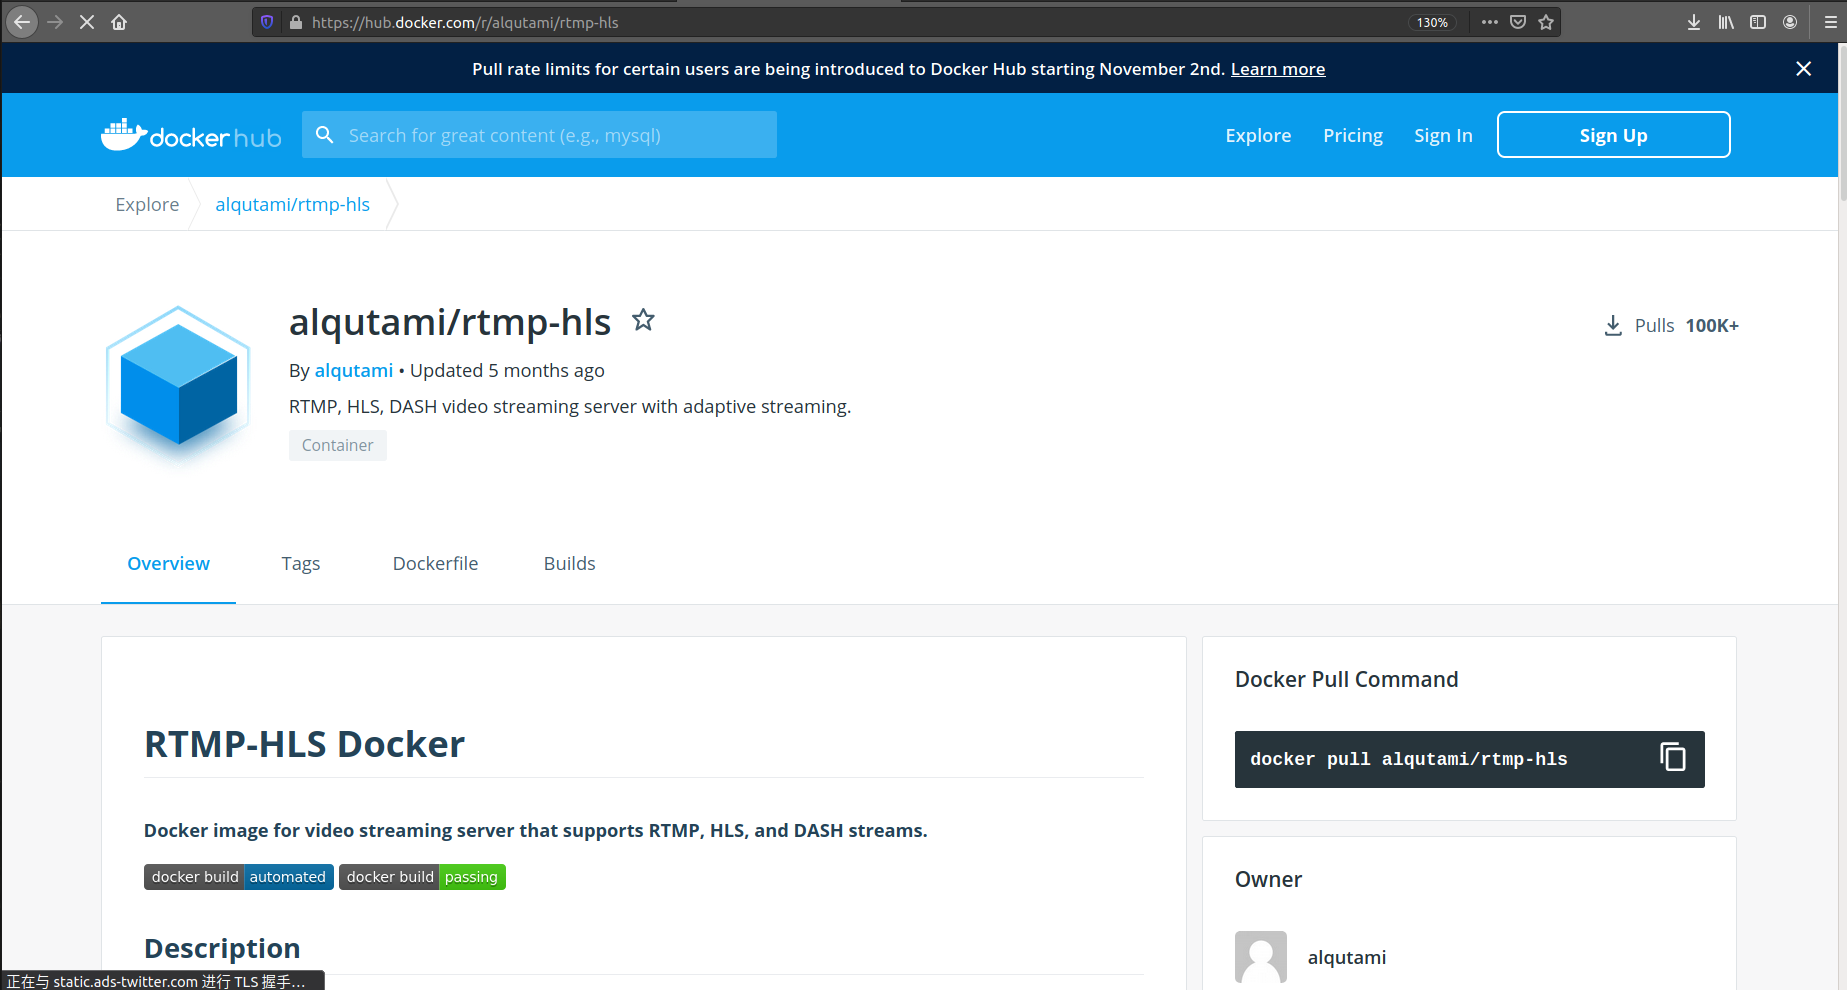
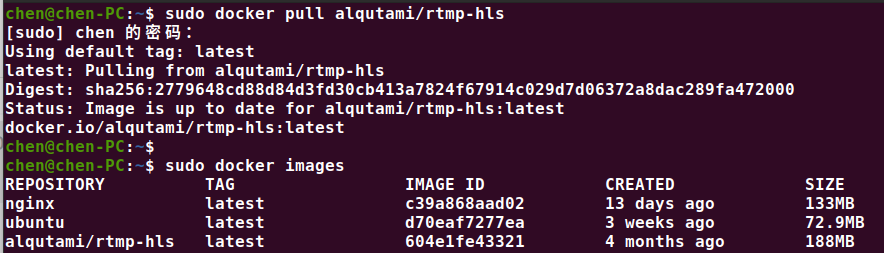
sudo docker pull alqutami/rtmp-hls
镜像说明(alqutami/rtmp-hls)
- 这是一个基于 Nginx 和 nginx-rtmp-module 的模块
- 使用 FFmpeg 来转码和自适应流媒体
- 默认配置
- RTMP open
- HLS open(适配5种变量)
- DASH open - 统计页面 http://
: /stats - 基于video.js和hls.js的web视频播放器,被放在
/usr/local/nginx/html/players下面.
该镜像使用如下模块编译
- Nginx 1.17.5
- Nginx-rtmp-module 1.2.1
- FFmpeg 4.2.1
使用方式
启动服务
sudo docker run -d -p 1935:1935 -p 8080:8080 alqutami/rtmp-hls
- 使用
docker run <镜像名>启动镜像 -d指示容器在后台运行-p用来设置端口映射(主机端口 : 容器端口)
使用自定义的配置文件启动容器
sudo docker run -d --name rtmp -p 1935:1935 -p 8080:8080 -v ~/Documents/nginx-1.19.2/conf/nginx.conf:/etc/nginx/nginx.conf alqutami/rtmp-hls
--name用来指定容器名称(不指定会自动赋予一个随机名)-v用于挂载宿主机的目录。前面是本地目录,后面是挂载到容器中的目录

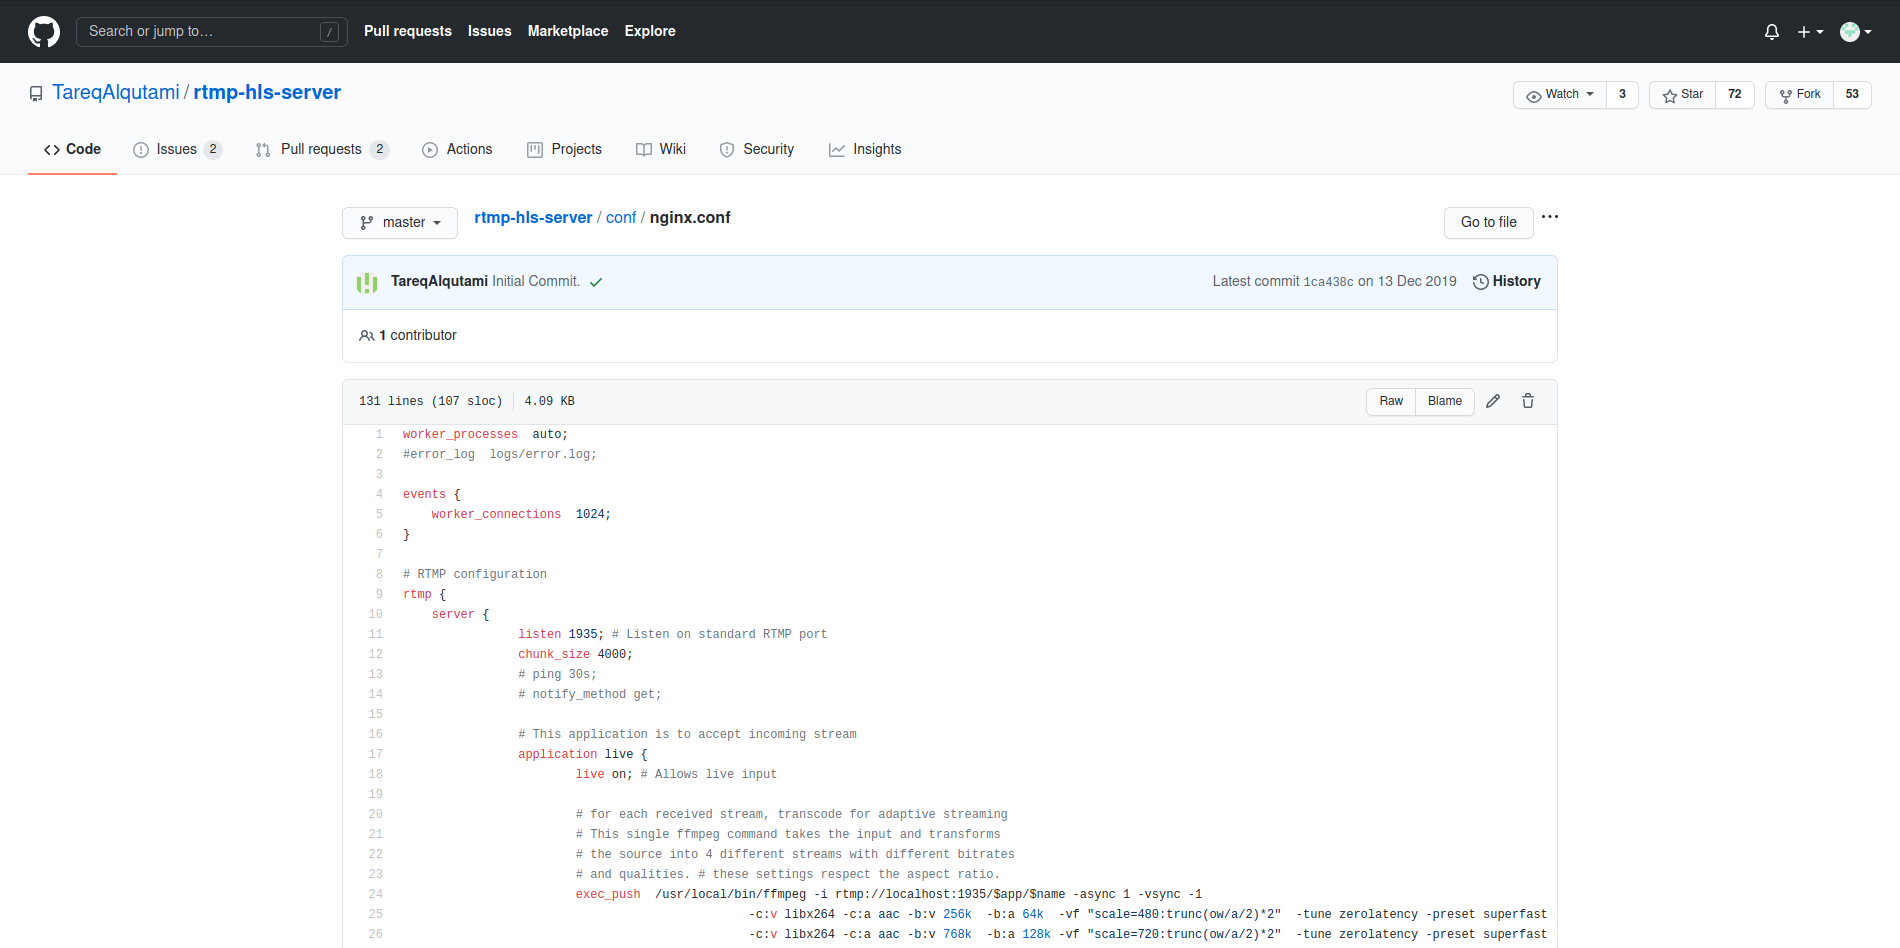
镜像的配置文件 nginx.conf 在 Github 上,可以参考着改 https://github.com/TareqAlqutami/rtmp-hls-server/blob/master/conf/nginx.conf
推送流
RTMP的实时流可以推送到如下地址
rtmp://<server ip>:1935/live/<stream_key>
其中 stream_key 可以是你指定的任何关键字
查看流
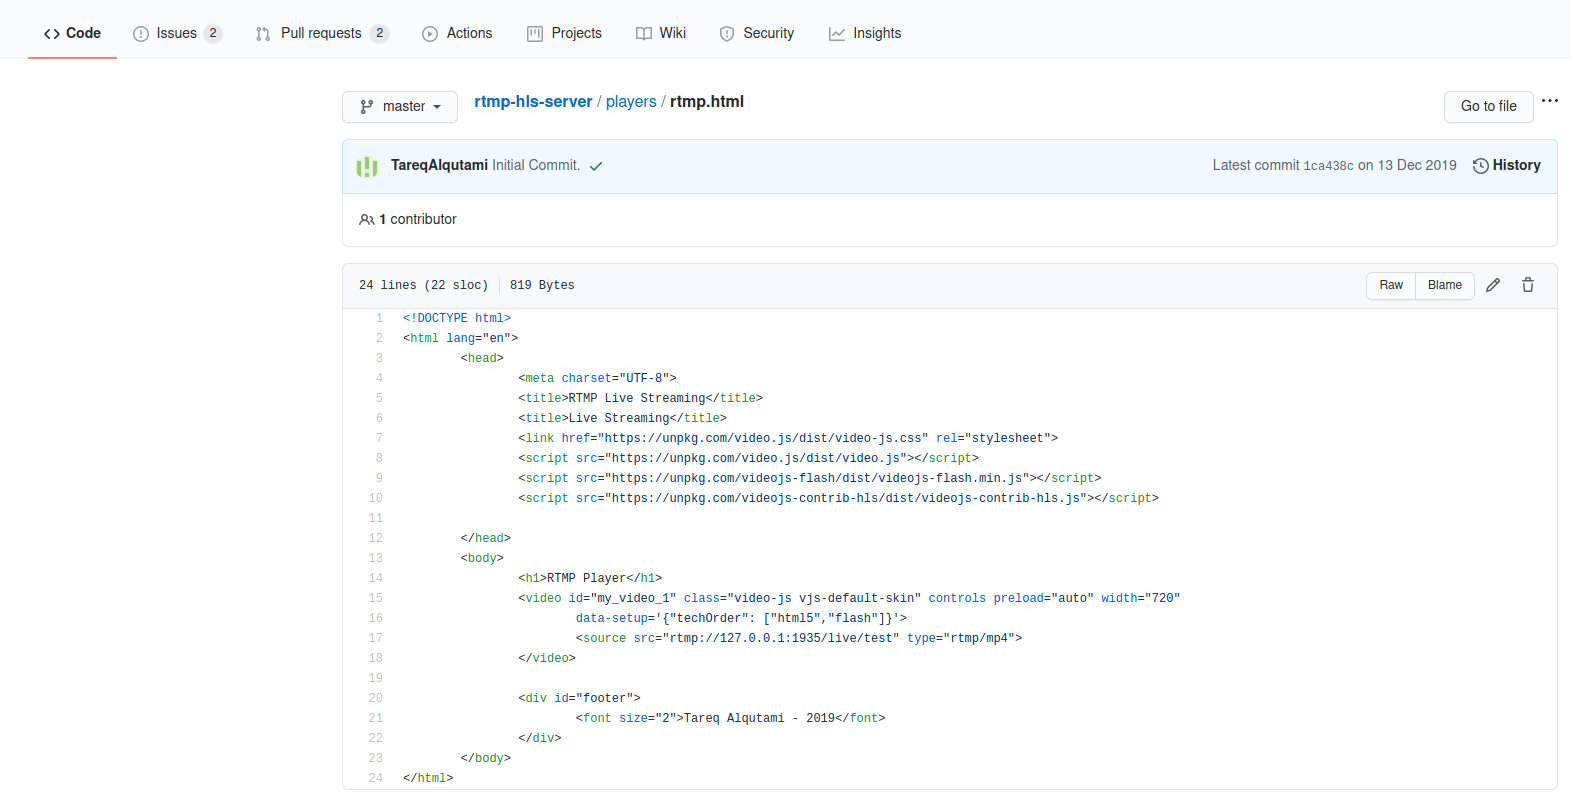
https://github.com/TareqAlqutami/rtmp-hls-server/blob/master/players/rtmp.html
实战
查看本机ip
-
局域网
ifconfig | grep "inet 192"

-
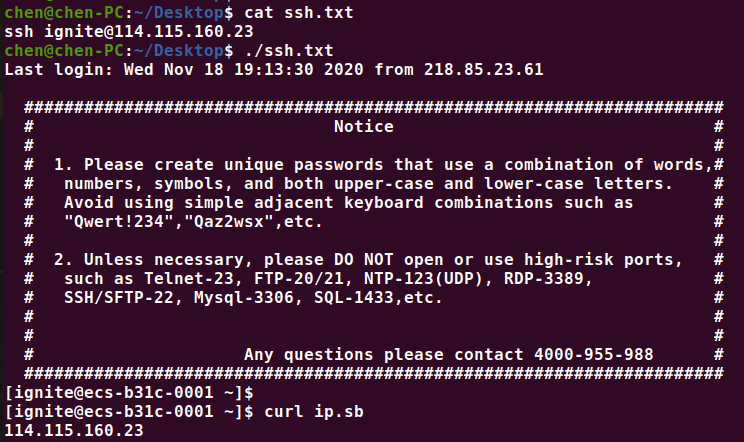
云服务器 curl ip.sb
启动容器
- 默认方式
docker run 的时候,不用特意去 pull 镜像,如果发现没镜像会自动下载
sudo docker run -d -p 8080:8080 -p 1935:1935 alqutami/rtmp-hls
- 自定义配置文件
如果需要自定义配置文件,可以自己写 nginx.conf,在启动容器时进行挂载
docker run -d -p 1935:1935 -p 8080:8080 -v custom.conf:/etc/nginx/nginx.conf alqutami/rtmp-hls
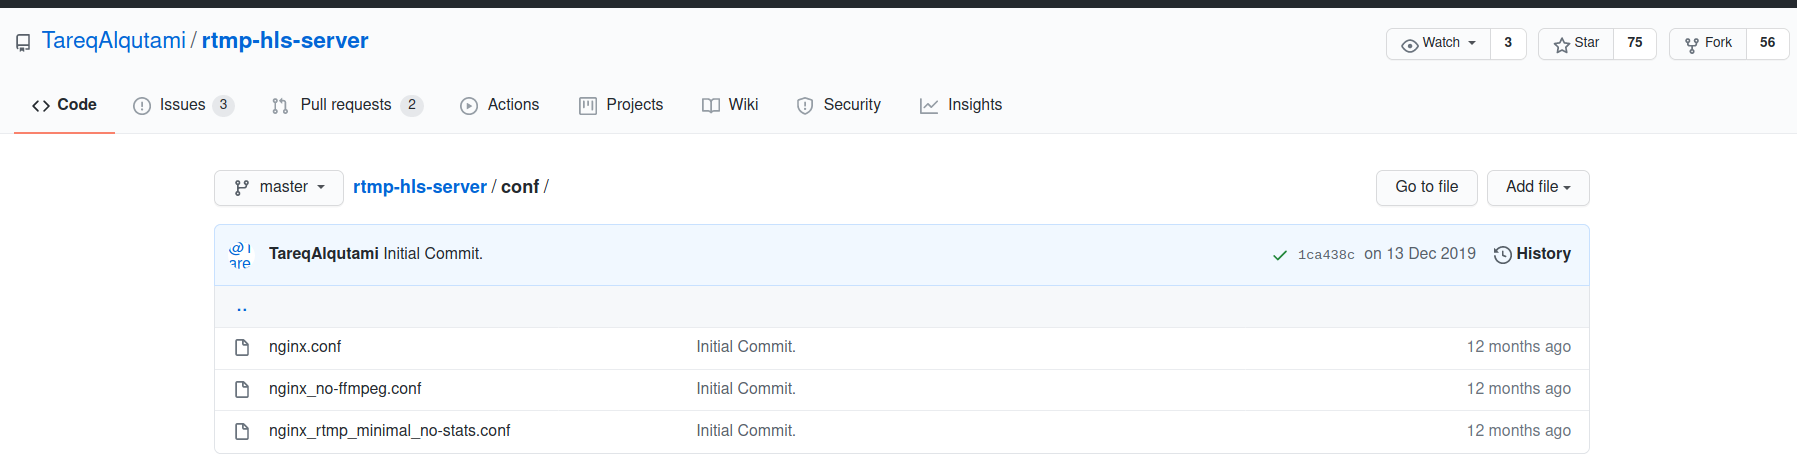
此外,也可以去镜像 Github 拷贝修改,Github 地址 https://github.com/TareqAlqutami/rtmp-hls-server/tree/master/conf
worker_processes  auto;
#error_log  logs/error.log;

events {
    worker_connections  1024;
}

# RTMP configuration
rtmp {
    server {
        listen 1935; # Listen on standard RTMP port
        chunk_size 4000;
        # ping 30s;
        # notify_method get;

        # This application is to accept incoming stream
        application live {
            live on; # Allows live input

            # for each received stream, transcode for adaptive streaming
            # This single ffmpeg command takes the input and transforms
            # the source into 4 different streams with different bitrates
            # and qualities. # these settings respect the aspect ratio.
            exec_push  /usr/local/bin/ffmpeg -i rtmp://localhost:1935/$app/$name -async 1 -vsync -1
                        -c:v libx264 -c:a aac -b:v 256k  -b:a 64k  -vf "scale=480:trunc(ow/a/2)*2"  -tune zerolatency -preset superfast -crf 23 -f flv rtmp://localhost:1935/show/$name_low
                        -c:v libx264 -c:a aac -b:v 768k  -b:a 128k -vf "scale=720:trunc(ow/a/2)*2"  -tune zerolatency -preset superfast -crf 23 -f flv rtmp://localhost:1935/show/$name_mid
                        -c:v libx264 -c:a aac -b:v 1024k -b:a 128k -vf "scale=960:trunc(ow/a/2)*2"  -tune zerolatency -preset superfast -crf 23 -f flv rtmp://localhost:1935/show/$name_high
                        -c:v libx264 -c:a aac -b:v 1920k -b:a 128k -vf "scale=1280:trunc(ow/a/2)*2" -tune zerolatency -preset superfast -crf 23 -f flv rtmp://localhost:1935/show/$name_hd720
                        -c copy -f flv rtmp://localhost:1935/show/$name_src;
        }

        # This is the HLS application
        application show {
            live on; # Allows live input from above application
            deny play all; # disable consuming the stream from nginx as rtmp

            hls on; # Enable HTTP Live Streaming
            hls_fragment 3;
            hls_playlist_length 20;
            hls_path /mnt/hls/;  # hls fragments path
            # Instruct clients to adjust resolution according to bandwidth
            hls_variant _src BANDWIDTH=4096000; # Source bitrate, source resolution
            hls_variant _hd720 BANDWIDTH=2048000; # High bitrate, HD 720p resolution
            hls_variant _high BANDWIDTH=1152000; # High bitrate, higher-than-SD resolution
            hls_variant _mid BANDWIDTH=448000; # Medium bitrate, SD resolution
            hls_variant _low BANDWIDTH=288000; # Low bitrate, sub-SD resolution

            # MPEG-DASH
            dash on;
            dash_path /mnt/dash/;  # dash fragments path
            dash_fragment 3;
            dash_playlist_length 20;
        }
    }
}


http {
    sendfile off;
    tcp_nopush on;
    directio 512;
    # aio on;

    # HTTP server required to serve the player and HLS fragments
    server {
        listen 8080;

        # Serve HLS fragments
        location /hls {
            types {
                application/vnd.apple.mpegurl m3u8;
                video/mp2t ts;
            }

            root /mnt;

            add_header Cache-Control no-cache; # Disable cache

            # CORS setup
            add_header 'Access-Control-Allow-Origin' '*' always;
            add_header 'Access-Control-Expose-Headers' 'Content-Length';

            # allow CORS preflight requests
            if ($request_method = 'OPTIONS') {
                add_header 'Access-Control-Allow-Origin' '*';
                add_header 'Access-Control-Max-Age' 1728000;
                add_header 'Content-Type' 'text/plain charset=UTF-8';
                add_header 'Content-Length' 0;
                return 204;
            }
        }

        # Serve DASH fragments
        location /dash {
            types {
                application/dash+xml mpd;
                video/mp4 mp4;
            }

            root /mnt;

            add_header Cache-Control no-cache; # Disable cache


            # CORS setup
            add_header 'Access-Control-Allow-Origin' '*' always;
            add_header 'Access-Control-Expose-Headers' 'Content-Length';

            # Allow CORS preflight requests
            if ($request_method = 'OPTIONS') {
                add_header 'Access-Control-Allow-Origin' '*';
                add_header 'Access-Control-Max-Age' 1728000;
                add_header 'Content-Type' 'text/plain charset=UTF-8';
                add_header 'Content-Length' 0;
                return 204;
            }
        }

        # This URL provides RTMP statistics in XML
        location /stat {
            rtmp_stat all;
            rtmp_stat_stylesheet stat.xsl; # Use stat.xsl stylesheet
        }

        location /stat.xsl {
            # XML stylesheet to view RTMP stats.
            root /usr/local/nginx/html;
        }
    }
}
但是上面这个配置文件是有误的,你会发现如果自己再外挂一些静态网站上去,外链的css、js等资源无效了。需要修改nginx.conf,在html节点上添加一段
http {
    include       mime.types;
    default_type  application/octet-stream;
    ……
}
- 更换映射端口
有的时候,主机(或云服务器)的80、8080、1935等常用端口都被占用了。
这时候就得更换映射端口了,语法为-p <宿主机端口>:<容器端口>
sudo docker run -d -p 18080:8080 -p 11935:1935 alqutami/rtmp-hls
- 配置静态网页
配置静态网页和自定义配置文件的方法一样,都是通过挂载实现的。唯一的区别是自定义配置文件挂载的是单个文件,而自定义网页挂载的是整个目录。另外/usr/local/nginx/html是静态html文件的挂载目录,但其下有文件,因此我们只能挂载到它的子目录
docker run -d -p 1935:1935 -p 8080:8080 -v custom.conf:/etc/nginx/nginx.conf -v ~/mynginx/customhtml:/usr/local/nginx/html/test alqutami/rtmp-hls

推流
rtmp协议的默认端口是1935,如果启动容器的时候替换成了别的端口,需要在rtmp的地址后面跟上端口,除此之外,其他都一样。
- 默认端口
ffmpeg -re -stream_loop -1 -i /home/chen/Desktop/QQ视频20200524211316.mp4 -vcodec copy -acodec copy -f flv -y rtmp://127.0.0.1/live/test
- 自定义端口
ffmpeg -re -stream_loop -1 -i /home/chen/Desktop/QQ视频20200524211316.mp4 -vcodec copy -acodec copy -f flv -y rtmp://127.0.0.1:11935/live/test
播放
- 默认端口
ffplay rtmp://127.0.0.1/live/test
- 自定义端口
ffplay rtmp://127.0.0.1:11935/live/test