如何通过Tesseract开源OCR引擎创建Android OCR应用
Tesseract是遵守 Apache License 2.0协议的开源OCR引擎。这里介绍下如何在Android平台编译Tesseract,以及如何快速创建一个简单的OCR应用。
参考原文:Making an Android OCR Application with Tesseract
Tesseract Android Tools
要编译Android平台的Tesseract,需要使用Google提供的tesseract-android-tools。
代码获取方式:
git clone https://code.google.com/p/tesseract-android-tools/
打开README,在命令行工具中执行下面的步骤:
cd <project-directory>
curl -O https://tesseract-ocr.googlecode.com/files/tesseract-ocr-3.02.02.tar.gz
curl -O http://leptonica.googlecode.com/files/leptonica-1.69.tar.gz
tar -zxvf tesseract-ocr-3.02.02.tar.gz
tar -zxvf leptonica-1.69.tar.gz
rm -f tesseract-ocr-3.02.02.tar.gz
rm -f leptonica-1.69.tar.gz
mv tesseract-3.02.02 jni/com_googlecode_tesseract_android/src
mv leptonica-1.69 jni/com_googlecode_leptonica_android/src
ndk-build -j8
android update project --target 1 --path .
ant debug (release)
注意:如果你在使用NDK r9,编译的时候会出现错误:
format not a string literal and no format arguments [-Werror=format-security]
解决的方法就是在Application.mk中加入一行:
APP_CFLAGS += -Wno-error=format-security
编译之后会生成class.jar和一些*.so。
Android OCR Application
创建一个Android应用,把生成的jar和so导入进来。
创建TessOCR:
public class TessOCR {
    private TessBaseAPI mTess;

    public TessOCR() {
        // TODO Auto-generated constructor stub
        mTess = new TessBaseAPI();
        String datapath = Environment.getExternalStorageDirectory() + "/tesseract/";
        String language = "eng";
        File dir = new File(datapath + "tessdata/");
        if (!dir.exists())
            dir.mkdirs();
        mTess.init(datapath, language);
    }

    public String getOCRResult(Bitmap bitmap) {

        mTess.setImage(bitmap);
        String result = mTess.getUTF8Text();

        return result;
    }

    public void onDestroy() {
        if (mTess != null)
            mTess.end();
    }

}
构造函数中需要在存储卡上创建一个目录tessdata,如果不创建程序运行就会出错。因为源码中会检测这个目录,不存在就抛出异常:
public boolean init(String datapath, String language) {
    if (datapath == null) {
        throw new IllegalArgumentException("Data path must not be null!");
    }
    if (!datapath.endsWith(File.separator)) {
        datapath += File.separator;
    }

    File tessdata = new File(datapath + "tessdata");
    if (!tessdata.exists() || !tessdata.isDirectory()) {
        throw new IllegalArgumentException("Data path must contain subfolder tessdata!");
    }

    return nativeInit(datapath, language);
}
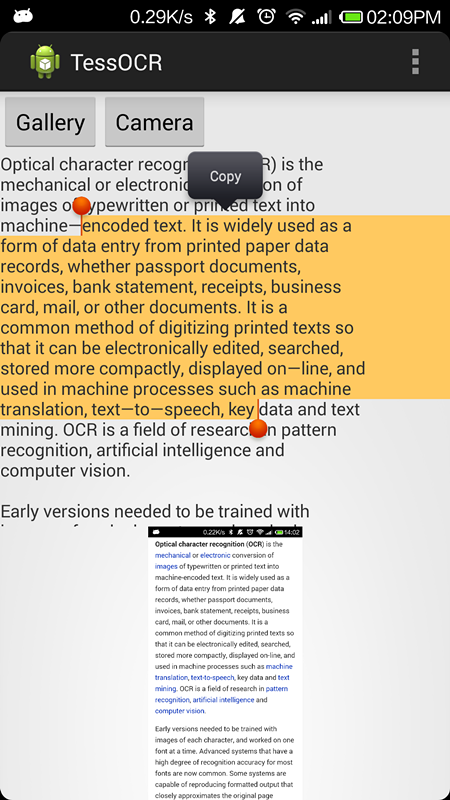
就这么简单。现在通过三种方式获取图片做OCR:
在图库中选取一张图,选择发送或者分享,选择OCR应用
在AndroidManifest.xml中加入IntentFilter,让OCR应用出现在图库的分享列表中:
<intent-filter>
    <action android:name="android.intent.action.SEND" />

    <category android:name="android.intent.category.DEFAULT" />
    <data android:mimeType="text/plain" />
    <data android:mimeType="image/*" />
</intent-filter>
获得URI之后,对URI解码,获取bitmap:
if (Intent.ACTION_SEND.equals(intent.getAction())) {
    Uri uri = (Uri) intent.getParcelableExtra(Intent.EXTRA_STREAM);
    uriOCR(uri);
}

private void uriOCR(Uri uri) {
    if (uri != null) {
        InputStream is = null;
        try {
            is = getContentResolver().openInputStream(uri);
            Bitmap bitmap = BitmapFactory.decodeStream(is);
            mImage.setImageBitmap(bitmap);
            doOCR(bitmap);
        } catch (FileNotFoundException e) {
            // TODO Auto-generated catch block
            e.printStackTrace();
        } finally {
            if (is != null) {
                try {
                    is.close();
                } catch (IOException e) {
                    // TODO Auto-generated catch block
                    e.printStackTrace();
                }
            }
        }
    }
}
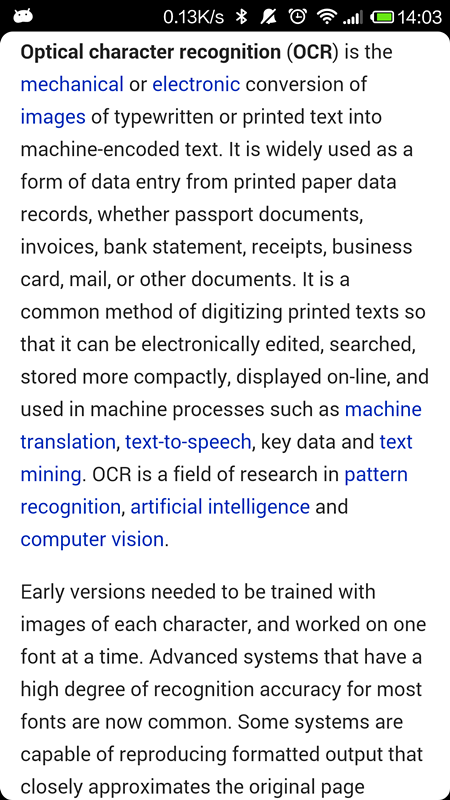
启动OCR应用,从图库中选择一张图做OCR
发送Intent调用图库,在onActivityResult中获取返回的URI做OCR:
Intent intent = new Intent(Intent.ACTION_PICK, android.provider.MediaStore.Images.Media.EXTERNAL_CONTENT_URI);
startActivityForResult(intent, REQUEST_PICK_PHOTO);
启动OCR应用,拍照之后做OCR
为了获取高质量的图片,在Intent中加入图片路径。返回之后就可以直接使用这个图片路径解码:
private void dispatchTakePictureIntent() {
    Intent takePictureIntent = new Intent(MediaStore.ACTION_IMAGE_CAPTURE);
    // Ensure that there's a camera activity to handle the intent
    if (takePictureIntent.resolveActivity(getPackageManager()) != null) {
        // Create the File where the photo should go
        File photoFile = null;
        try {
            photoFile = createImageFile();
        } catch (IOException ex) {
            // Error occurred while creating the File

        }
        // Continue only if the File was successfully created
        if (photoFile != null) {
            takePictureIntent.putExtra(MediaStore.EXTRA_OUTPUT,
                                       Uri.fromFile(photoFile));
            startActivityForResult(takePictureIntent, REQUEST_TAKE_PHOTO);
        }
    }
}
最后不要忘记下载语言包,并push到存储卡的tessdata目录下。
源码
https://github.com/DynamsoftRD/android-tesseract-ocr
本文由 创作,采用 知识共享署名4.0 国际许可协议进行许可。本站文章除注明转载/出处外,均为本站原创或翻译,转载前请务必署名。最后编辑时间为: 2021/01/14 04:45