mavon-editor 使用教程
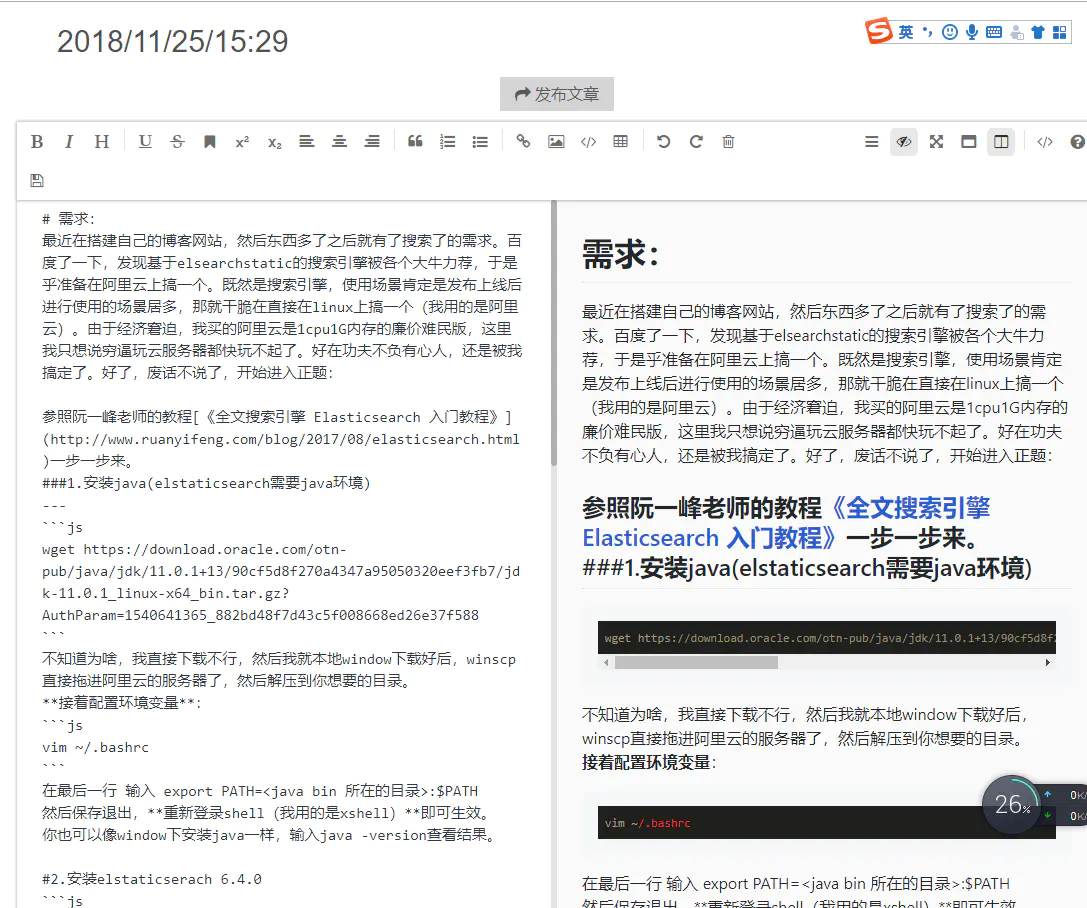
mavon-editor是一款基于vue的markdown编辑器,比较适合博客系统。由于官网对于一些细节的说明不够详细,这里对这里对该编辑器的使用做一个总结。
安装
npm install mavon-editor --save
基本使用
在vue-cli构建的脚手架离得main.js可以像这样引用:
// 全局注册
import Vue from 'vue'
import mavonEditor from 'mavon-editor'
import 'mavon-editor/dist/css/index.css'
// use
Vue.use(mavonEditor)
new Vue({
  'el': '#main'
})
在具体的组件里html里定义挂载点
<div id="main">
    <mavon-editor v-model="value"/>
</div>
效果

图片上传
先将挂在点里的方法写好,就像这样
<el-main class="content-content">
  <mavon-editor
                v-model = 'editorContent'
                :ishljs="true"
                :codeStyle="code_style"
                ref=md @imgAdd="$imgAdd" @imgDel="$imgDel"
                />
</el-main>
主要是将ref=md @imgAdd="$imgAdd" @imgDel="$imgDel"放进去,其他是我的其他代码。
然后定义$imgAdd和$imgDel方法:
// 绑定@imgAdd event
$imgAdd(pos, $file) {
// 第一步.将图片上传到服务器.
var formdata = new FormData();
formdata.append('image', $file);
this.img_file[pos] = $file;
this.$http({
url: '/api/edit/uploadimg',
method: 'post',
data: formdata,
headers: { 'Content-Type': 'multipart/form-data' },
}).then((res) => {
let _res = res.data;
// 第二步.将返回的url替换到文本原位置 -> 
this.$refs.md.$img2Url(pos, _res.url);
})
},
$imgDel(pos) {
delete this.img_file[pos];
}
这里注意我的this.$https就是我的axios对象(用过vue-cli的都懂的),然后this.img_file是我之前定义的一个空对象。this.$refs.md和挂在点定义的要保持一致。
剩下的就是交给服务端去处理了:
koa解决文件上传
大家有不明白的地方或者需要我补充更正的地方欢迎留言~
参考文献
https://github.com/hinesboy/mavonEditor/blob/master/README.md
本文由 创作,采用 知识共享署名4.0 国际许可协议进行许可。本站文章除注明转载/出处外,均为本站原创或翻译,转载前请务必署名。最后编辑时间为: 2022/01/14 10:19
